Saturday, January 12, 2013

Mrs. T's Famous Corn Bread

We got some super delicious corn bread the other day from hubby's friend's wife!  They were so yummy that  I just had to ask for the recipe.  I called these "Mrs. T's Famous Corn Bread!!"

Ingredients:
1/2 cup butter
2/3 cup sugar
2 large eggs
1 cup buttermilk
1/2 tsp baking soda
1/2 tsp salt
1 cup flour
1 cup corn meal (Jiffy cornbread mix is ok)

optional:
1/2 cup of golden canned corn

Directions:
** Preheat the oven to 375**
1) Whisk together the melted butter and sugar
2) Add egg & whisk them together
3) Add buttermilk, but shake buttermilk before pouring in
4) Add baking soda
5) Add salt, flour, and cornmeal.  Use a spatula to blend everything

OPTIONAL 6) Add 1/2 cup of canned corn and blend

7) Line the muffin tin with cupcake holders, preferably the tin foil kind.
8) Pour in your mixture.  It's ok to have the mixture almost to the brim; it doesn't rise too much

PICTURE INSTRUCTIONS:
** preheat your oven to 375**
Ingredients


Step 1: Whisk together the melted butter and sugar

Step 2: Add eggs & whisk them together

Step 3: Add buttermilk


Step 4: Add baking soda and mix well


** note: I accidentally put 1tsp instead of 1/2 tsp and it turned out fine**

Step 5: Add salt, flour, and cornmeal.  Mix well with spatula, but don't over-mix.


Optional Step 6: Add 1/2 cup of corn, if you want actual corn in your corn bread :)


Step 7: Now line your muffin tray.  I used the 3 muffins by 4 muffins tray.  The batter only yielded about 9 muffins.  If you have foil muffin holders, those work best.  You want to avoid using the paper kind, because they will burn the muffins.  I ran out of the tin foil muffin holders, so I had to improvise some DIY holders.

Step 8: Pour your batter in each muffin holder.  It's ok that they are close to the brim because the batter doesn't rise too much.  It also makes some nice muffin tops :)


Make sure your oven is set at 375.  Leave the tray in the oven for 20-25 minutes, or until each muffin is golden brown!


ALL DONE!!! GOLDEN BROWN!!!


These corn bread/muffin are crunch on top but soft, fluffy, and moise on the inside.  Sooooo yummy!!!

For my healthy readers who are concerned about calories, the ENTIRE batter contains about 2668 calories.  Since the batter yields 9 muffins, each muffin is about 296.4 calories.  I ate one and a half, and I walked most of it off after dinner. :)


ENJOY!!!  Thank you Mrs. T!! Hope you like today's PICK!

~ Bumbee
** Don't forget to follow me on twitter @bumbeepicks**

Friday, December 21, 2012

All Natural DIY Anti-Acne Facial Mask

My skin hasn't been the best lately.  I think it's largely due to my undisciplined diet with too much chocolate and coffee.  I also haven't been sleeping well, so little bumps have found their way on my face.  I searched around to find a good DIY natural facial mask to battle the tiny zits and discovered this recipe from Danielle Beauty Bliss' YouTube channel.  I'll have the video linked below.

Things you'll need:
1. Apple Cider Vinegar
2. Baking soda
3. Lemon
4. Cotton balls
5. Measuring spoons


Step 1: Measure out 2 teaspoons of Apple cider vinegar


Step 2: Squeeze in a little bit of lemon droplets (4-5 drops)


Step 3: Add in 1/2 teaspoon of baking soda


It'll star to bubble b/c of the acidity in the bowl


Make sure everything is mixed well...


Step 4: Get some cotton balls and dip them in your mixture.  Then apply gently all over your face.

WARNING: Please avoid the area around your eyes.  It'll sting.  The mixture is rather liquidy, so I usually apply it on my face while I'm standing by a sink.  I leave the mixture on my face for about 10-12 minutes.  After it dries, I wash it off with warm water.


After you wash off your mask, your face should feel very clean.  However, my personal experience is that the mixture does make my face feel pretty dry.  So, I usually apply aloe (which I have in a pot...100% natural) and moisturizer right after I wash off the mask and dry my face.

Here's my aloe plant.  I normally just cut off one small strand and it's enough for my face.  


This all natural DIY mask has worked really well for me, especially in getting rid of pimples and zits.  I am not a dermatologist or a physician, so please make sure that you test out all the ingredients on your hands first to make sure that you don't have any allergic reactions, before you put the mixture on your face.  

Lastly, if you would like to see a YouTube video on this, here is Danielle.  I got the recipe from her channel:


Take care! Happy Holidays!!


Thursday, December 20, 2012

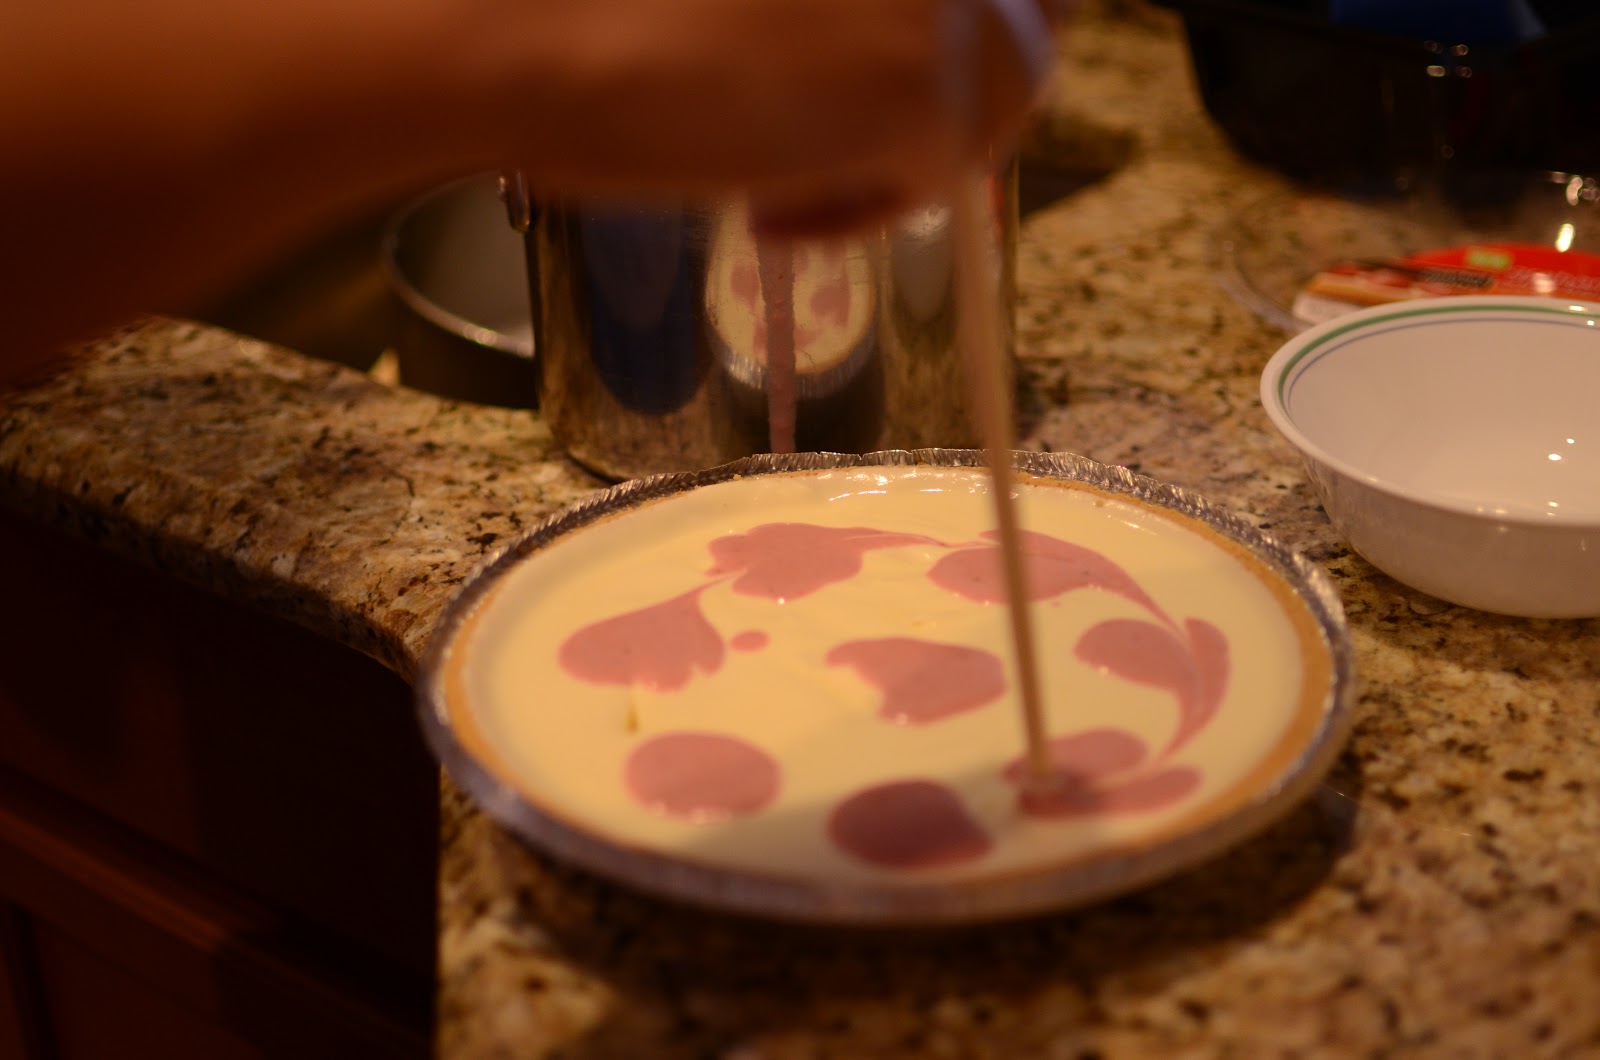
Raspberry Cheesecakes

Feeling the afternoon lull? We are way past hump day! The weekend is almost here and then CHRISTMAS IS JUST AROUND THE CORNER!!

Hope these raspberry cheesecakes will cheer you up! :)


Happy Thursday, everyone! Follow me on Twitter @bumbeepicks


Wednesday, December 19, 2012

Come Make Cake & Brownie Pops with Me!!!

Happy Wednesday!  It's that time of the year where everyone has tons of Christmas parties to attend-- with friends, family, and co-workers.  Sometimes it's nice to bring a little cheerful treat.  So, I will show you today how I made my cake & brownie pops.

I got the recipe from divascancook.com.  You can find more detailed directions from her website: Divas Can Cook .  I love all her recipes and I watch her on YouTube, so I definitely want to give credits where they are due.  This took me a little over an hour to make, a little longer than expected, because I was tying up the ribbons and trying to make them look nice.

Ingredients:
- Chocolate cake (box cakes are fine)
- Brownie from a box
- Chocolate frosting
- 2 Boxes of Baker's white and dark chocolate, the kind that you can use to dip and cover strawberries
- Cake pop sticks (I got these at Party City)
- Sprinkles

Instructions:

Make your cake according to the instructions on the box

I had way too much cake, so I made the excess batter into cupcakes


Crumble up your cake batter until they look like bread crumbs.  Then add in chocolate frosting a little bit at a time just to "glue" the crumbs together.  The point is to make the batter moist and easy to roll into tiny balls.  You don't want the balls to be too big, otherwise they will slide off the sticks later. (Sorry I forgot to take a picture here).

After the batter has been divided up and rolled into balls, put them in the fridge to let them harden a little while you melt the white chocolate.


After the white chocolate has been melted, dip the tips of the cake pop sticks into the white chocolate.  The dipped white chocolate will act as the "glue" to make sure that the cake will stay on the cake pops and not slide off.

Once the cake pop sticks have been dipped, take out the cake balls from the fridge and immediately insert the sticks into the cake balls about half way to secure them.

Put the cake pops into the freezer for about half an hour.

Melt more white chocolate in a cup while the cake pops freeze.

Take the cake pops out from the freezer after 30 minutes. Now submerge and dip the cake balls entirely into your cup with the melted white chocolate.

Make sure that the cake ball is completely covered.  If not, REDIP!

Now that the cake balls are entirely covered, you can decorate them with sprinkles!  Please do this step relatively quickly because the white chocolate will start to harden and the sprinkles won't stick on as well.


Stick the finished cake pops in a box.  I just pop some holes on top of an old shoe box.


Put the finished cake pops back into the freezer for at least another half hour.  I think I actually left them inside for a full hour.


While the cake pops are in the freezer, we can now move on to the brownie pops!  Bake your brownie according to the direction on the box.  When finished, roll the brownie into little balls like the cake balls earlier.  This time, I am using the dark chocolate from Baker's instead.  Repeat the same steps from above regarding dipping your sticks and inserting them into the brownie balls.


Now cover your brownie in MELTED DARK CHOCOLATE before drizzling meted white chocolate to decorate them.

Ta da!!

Now put the brownie pops on a shoe box and trade with the cake pops from the freezer.
Take them out after you are done freezing them and wrap them individually!


There you have it!  Cute and pretty brownie & cake pops.  Don't forget to follow me on twitter @bumbeepicks.  Until then, merry Christmas everybody!!

~ Bumbee